1. Course & Content Creation (Mentor/Admin Flow)
This flow demonstrates how a mentor or administrator can create a new course from scratch and populate it with various types of learning materials, including SCORM packages, text lessons, quizzes, and assignments.
User Journey:
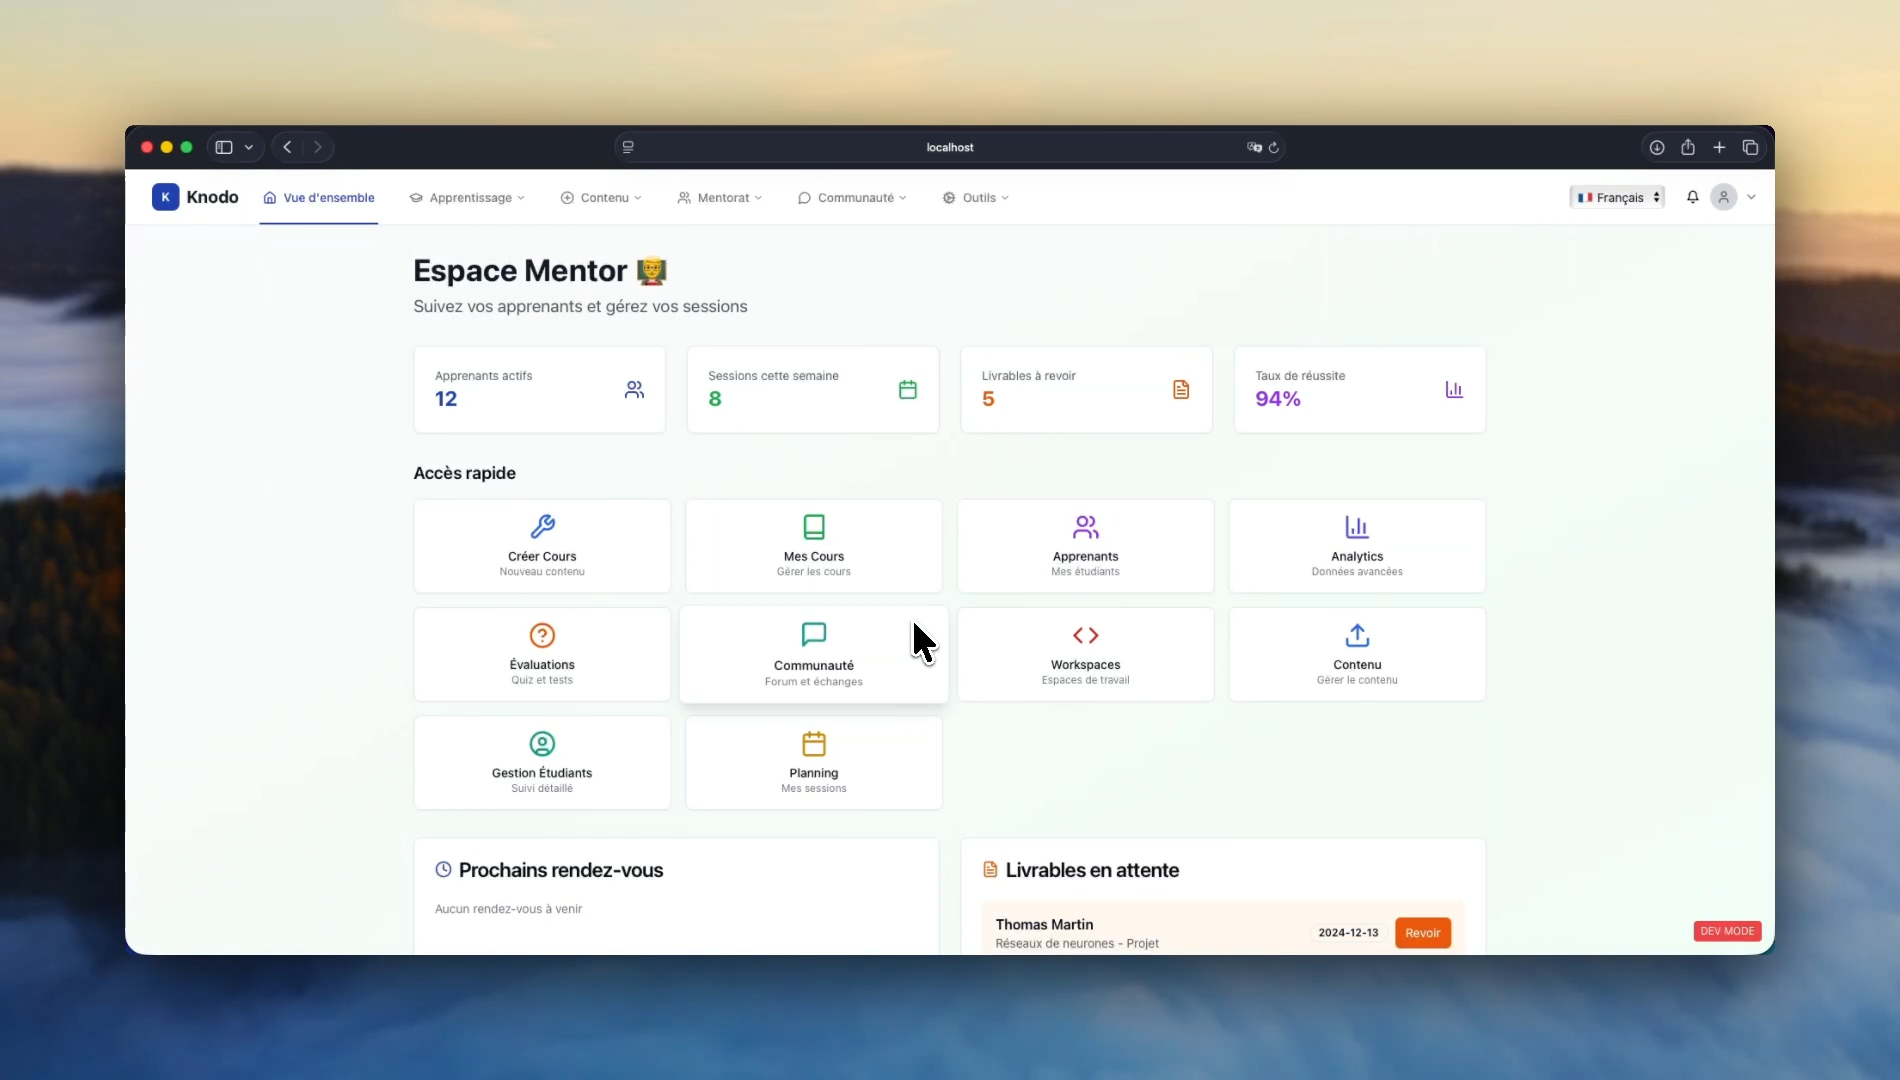
- Navigate to Course Management: From the "Espace Mentor" (Mentor Dashboard), the user navigates to the course management page via the Apprentissage > Mes Cours menu.
- Create a New Course:
- The user clicks the "+ Nouveau Cours" (New Course) button.
- They fill in the course details: Title (demo), Description, Category (Business), and State (Public).
- The new course appears on the management page.
- Create a Module:
- The user enters the newly created "demo" course and clicks "+ Nouveau Module" (New Module).
- A title (hello React) and description are added to create the module.
- Add Diverse Content Types:
- SCORM Content: The user clicks + Ajouter (Add) and selects Contenu SCORM. They provide a title and upload a SCORM 1.2 ZIP package (Windows-10-Essentials.zip). This is repeated for a second SCORM 2004 package.
- Unit (Folder): A "Unité" is created to group related content, named scorm files. The previously added SCORM lessons are then dragged and dropped into this unit for organization.
- Text Lesson: A Leçon (texte) is created. The user adds a title, uses the rich text editor to add content, right-aligns text, and uploads an image directly into the lesson. The lesson duration is set.
- Quiz: A Quiz is created. The passing score is set to 50%. Two questions are added: one Multiple Choice (QCM) and one Short Answer (Réponse courte).
- Assignment: A Devoir (Assignment) is created, allowing students to upload files for review. Instructions are provided in the description.
2. Project Management with Scrum Board
This flow illustrates the platform's built-in project management tools, including a collaborative Scrum board for managing tasks within sprints.
User Journey:
- Navigate to the Scrum Board: The user accesses the project's Scrum board from the Projets tab. The board displays columns: À faire (To Do), En cours (In Progress), En revue (In Review), and Terminé (Done).
- Manage Tasks:
- A task is dragged from the "To Do" column to "In Progress" and then to "In Review" to update its status.
- A new task is created and assigned to the "first sprint".
- Manage Sprints:
- The user filters the board to view tasks only for the "first sprint".
- A new sprint ("other sprint") is created with a defined start and end date.
- The board is then filtered by the "other sprint," which is initially empty.
- Task Creation and Filtering:
- A new task ("bye") is created with an "Urgent" priority and is automatically assigned to the currently selected "other sprint".
- The user moves this new task across the board to the "Terminé" column.
- Finally, the filter is set back to "All Sprints" to show all tasks from every sprint on a single board.
3. Mentor Scheduling and Learner Booking
This flow demonstrates the two-sided process of a mentor setting their availability and a learner booking a session with them.
User Journey:
- Mentor Sets Availability:
- The Mentor navigates to Mentorat > Planification (Planning).
- They click + Ajouter (Add) to create a new availability slot.
- They define the date, start/end times, session duration (45 mins), break time between sessions (10 mins), and their areas of expertise (Node).
- Learner Books a Session:
- The mentor logs out, and a Learner logs in.
- The Learner navigates to Mentorat > Réserver Mentor (Book a Mentor).
- They select the available mentor and choose a time slot from the generated schedule.
- A booking form is filled out with the Sujet de discussion (Discussion Topic) and a detailed description.
- The reservation is confirmed and now appears as "En attente" (Pending) in the learner's "Mes Réservations" (My Reservations) list.
- Mentor Approves the Session:
- The learner logs out, and the Mentor logs back in.
- The Mentor navigates to Mentorat > Sessions.
- The new booking appears under "Demandes en attente d'approbation" (Pending Approval Requests).
- The mentor approves the request. The session is now moved to the "Prochains rendez-vous" (Upcoming Appointments) tab as a confirmed session.
4. Learner Experience & Course Progression
This flow follows a learner as they navigate a course, interact with different content types, and complete assignments.
User Journey:
- Enrolling and Starting a Course: The learner browses the public course catalog and clicks "Commencer" (Start) or "Continuer" (Continue) on a course.
- Navigating Course Content: The interface displays the course structure on the left and the content viewer on the right. The learner clicks on various lessons to view them.
- Consuming SCORM Content:
- The learner opens a SCORM lesson. An interactive player is embedded, showing a video-based course.
- The learner plays the video, and the completion percentage updates in real-time. They can navigate between different videos within the SCORM package.
- They complete a second SCORM lesson with text and images, navigating through its pages.
- Completing Lessons and Quizzes:
- The learner completes a text-based lesson and clicks "Marquer comme terminé" (Mark as complete).
- They start a quiz, select the correct answers for the multiple-choice and short-answer questions, and submit it. They immediately see their score of 100%.
- Submitting an Assignment:
- The learner navigates to the "do this" assignment.
- They click "Choose File" to upload their work (wes-hicks-....jpg).
- They add a comment for the mentor ("Hello Mentor, please review.") and click "Soumettre le livrable" (Submit deliverable).
5. Mentor Review and Student Progress Tracking
This flow shows how a mentor can track student progress in detail and provide feedback on submitted assignments.
User Journey:
- Accessing Student Progress:
- From the Gestion des Cours (Course Management) page, the mentor clicks the Suivi (Tracking) icon for a course.
- They see a list of enrolled learners with an overall progress bar.
- Viewing Detailed Progress:
- The mentor clicks "Détails" for a specific student.
- A "Student Progress" modal appears, showing completion percentages for Lessons, Quizzes, and Assignments.
- The mentor expands the course structure to see the status of each individual lesson (incomplete, complete, best score, etc.).
- Reviewing Submissions:
- The mentor navigates to Apprentissage > Évaluations to view all submissions.
- They find the pending submission for the "do this" assignment.
- They can download the submitted file for review.
- The mentor clicks "Examiner" (Review), gives a grade (80/100), adds a comment (hello), and submits the evaluation.
- Confirming Updated Progress: The mentor returns to the student tracking page and sees the learner's overall progress percentage has increased after the assignment was graded.
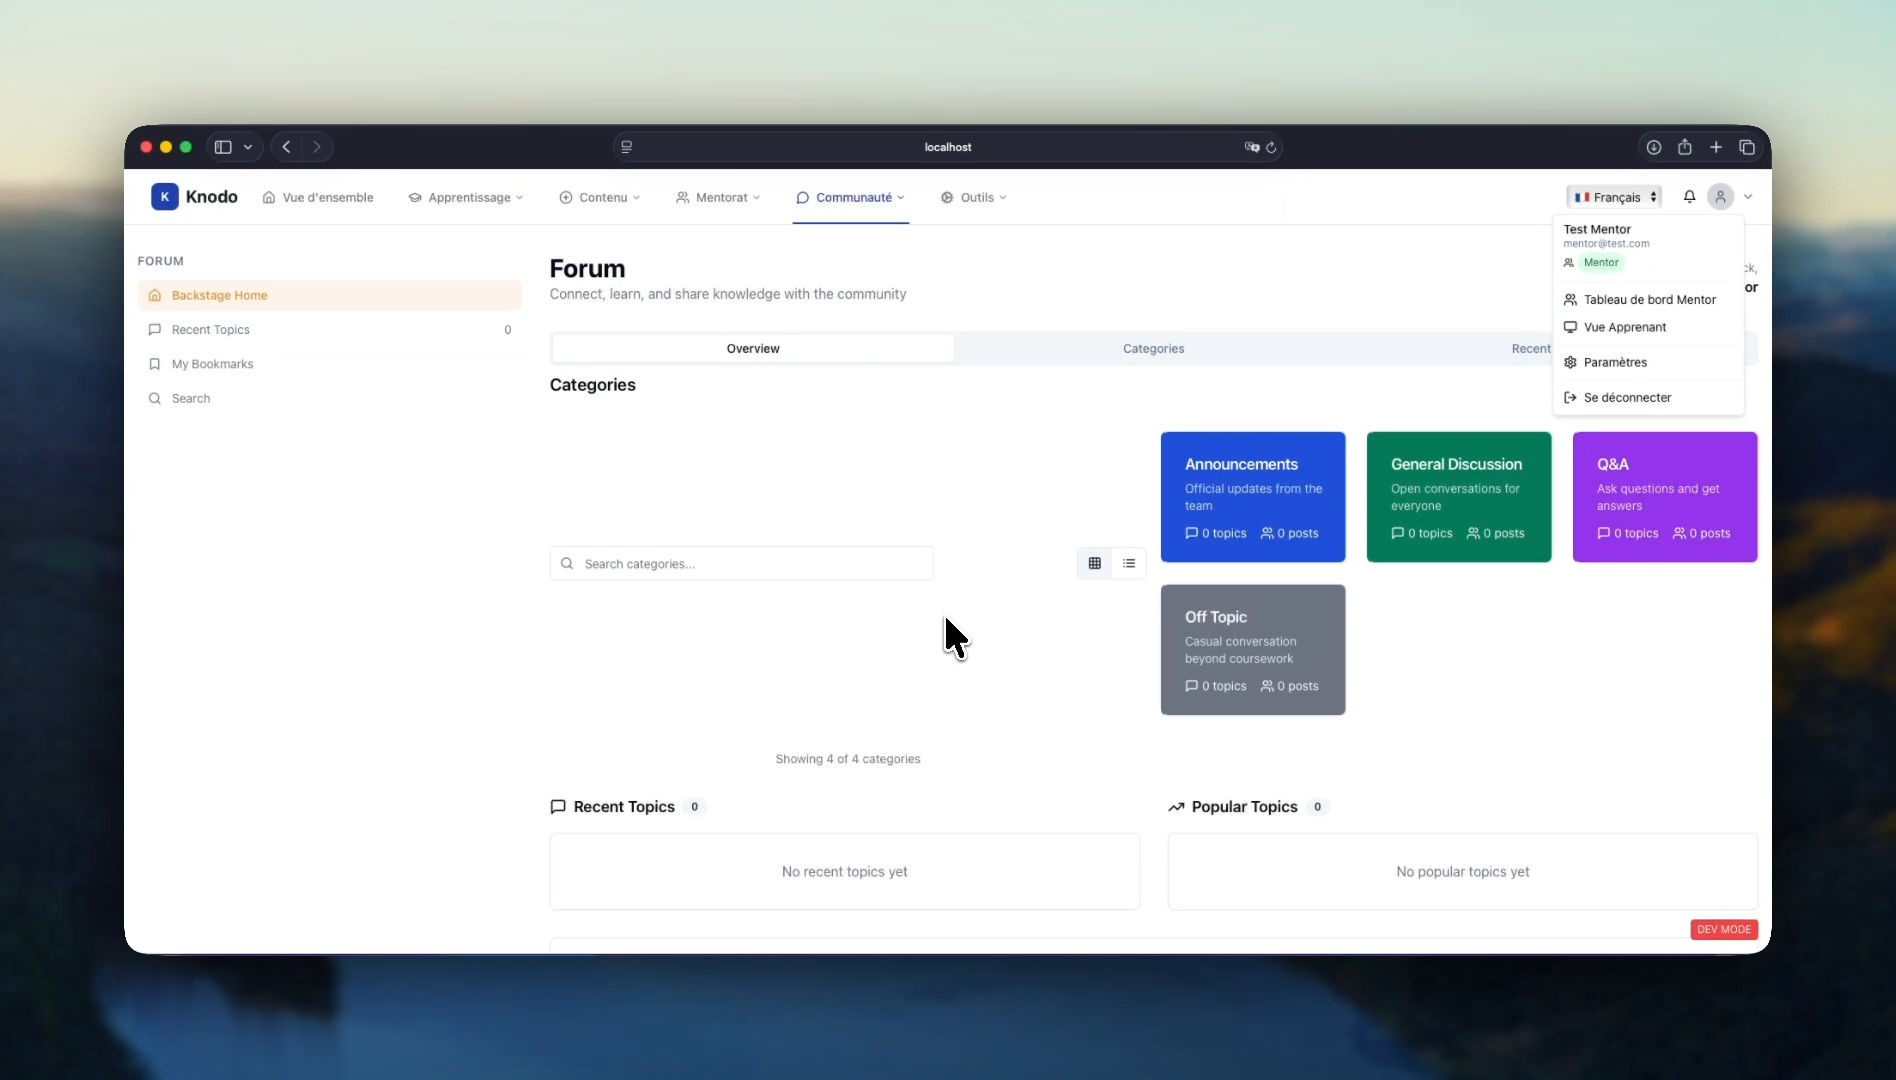
6. Community Forum Interaction
This flow demonstrates how users can create and engage in discussions within the community forum.
Forum.mp4
User Journey:
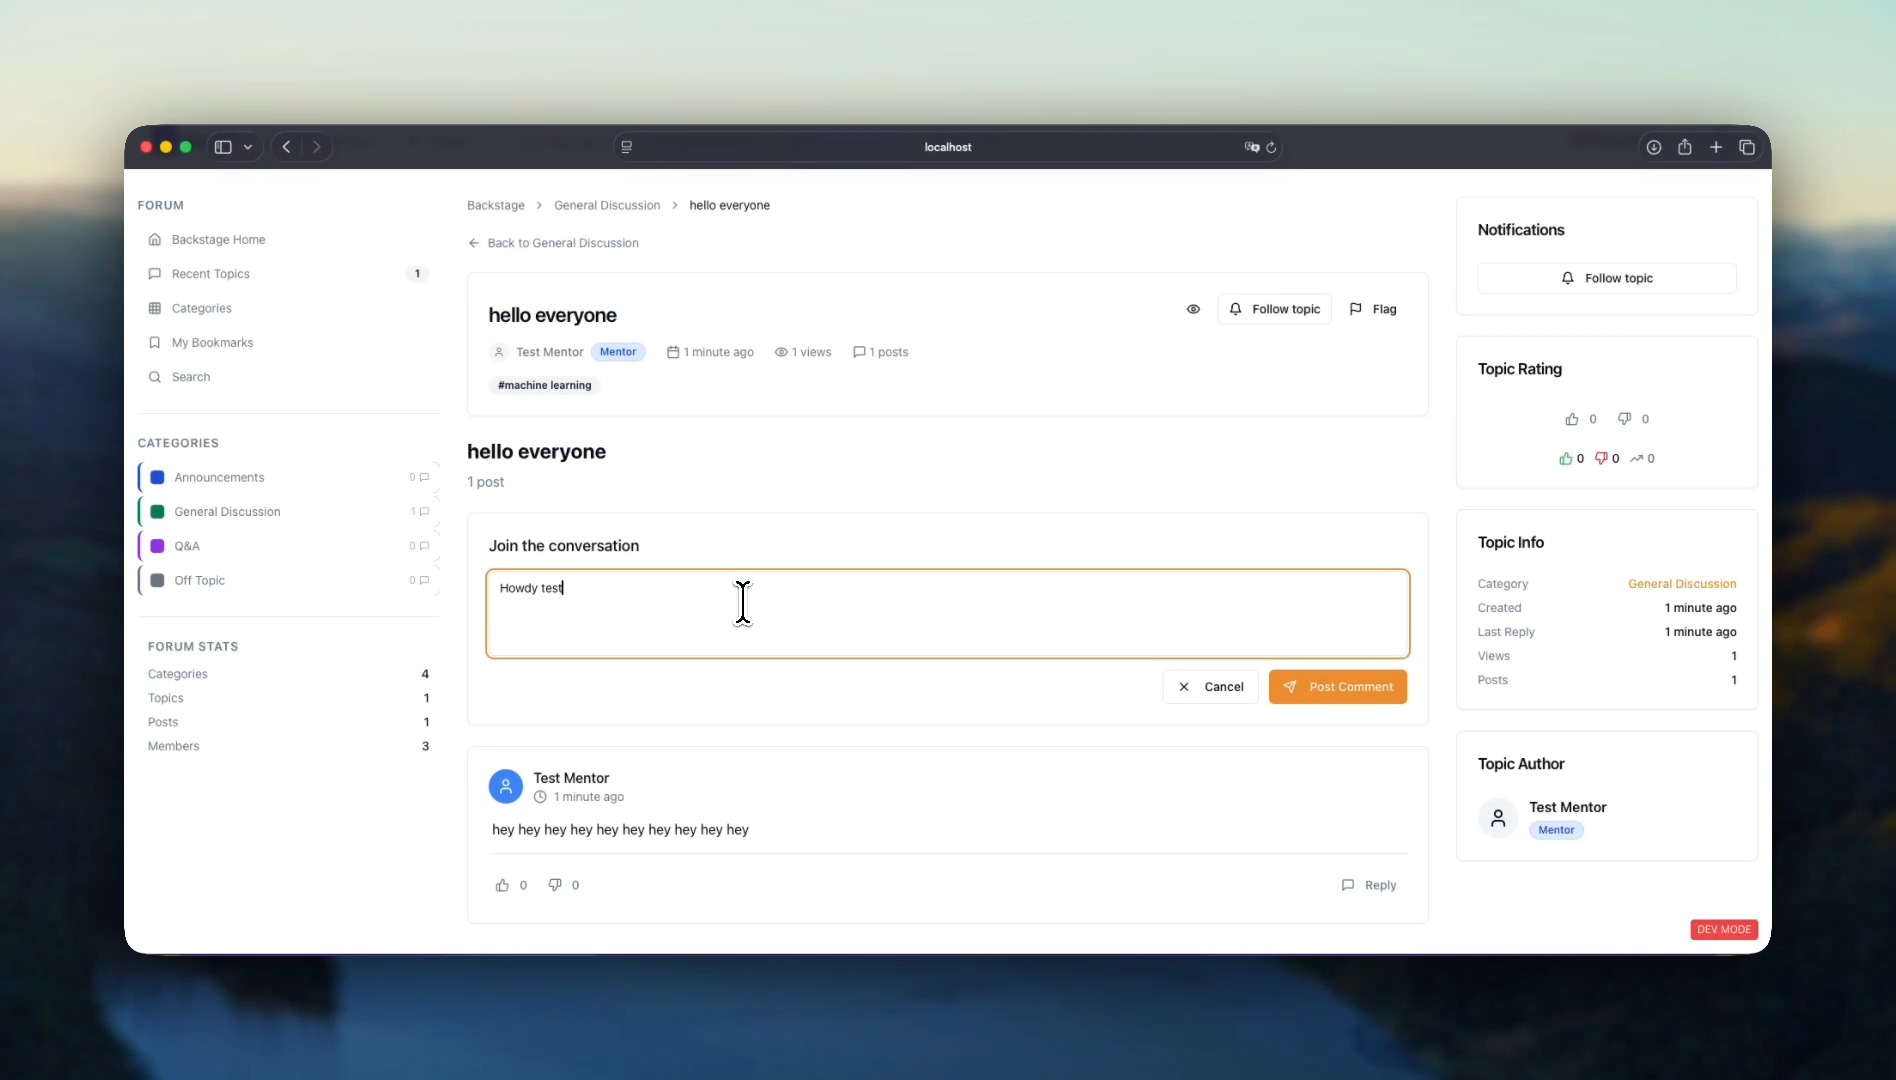
- Creating a Topic:
- A Mentor user navigates to the Communauté (Community) tab.
- They select a category ("Announcements") and click + New Topic.
- They create a topic with a Title (hello everyone), select a more appropriate Category (General Discussion), add Content, and apply a Tag (machine learning).
- Replying to a Topic:
- The Mentor logs out. An Admin user logs in and navigates to the same topic in the forum.
- The Admin clicks + Add Reply to join the conversation.
- They write and post a reply ("Howdy test mentor!").
- Interacting with Posts: The Admin user "likes" the original post from the Mentor, and the like count updates to 1.
7. GitHub Integration and Live Code Editing
This flow highlights the platform's developer-focused tools, allowing users to connect their GitHub account to browse and edit code from their repositories directly within the application.
Forum.mp4
User Journey:
- Connect to GitHub:
- The user navigates to Outils > GitHub App.
- They click "Install GitHub App," which redirects them to github.com.
- They authorize the Knodo application to access their repositories.
- Upon returning to the platform, the status changes to "Connected."
- Browse Repositories and Files:
- The user navigates to Outils > GitHub Repos.
- They see a list of their GitHub repositories. They select the static-site repository.
- The file structure of the repository is displayed. They click on README.md to view its content.
- Edit and Commit Changes:
- The user edits the content of the README.md file directly in the built-in editor, adding the line "WE ARE LIVE".
- They provide a commit message ("livedemo") and click "Save."
- Verify the Commit:
- The user clicks the "View GitHub Profile" link, which opens the repository on github.com.
- They refresh the page on GitHub and verify that the new commit and content changes are visible.